

Windows में FoxyProxy + Burp Suite CA Certificate Setup (Step-by-Step Guide with Images)
Introduction
Agar aap ethical hacking / bug bounty / web security testing seekh rahe ho, to Burp Suite ek powerful tool hai. Lekin HTTPS traffic intercept karne ke liye aapko FoxyProxy aur CA Certificate setup karna zaroori hota hai.
Is guide me hum step-by-step images ke saath setup seekhenge.
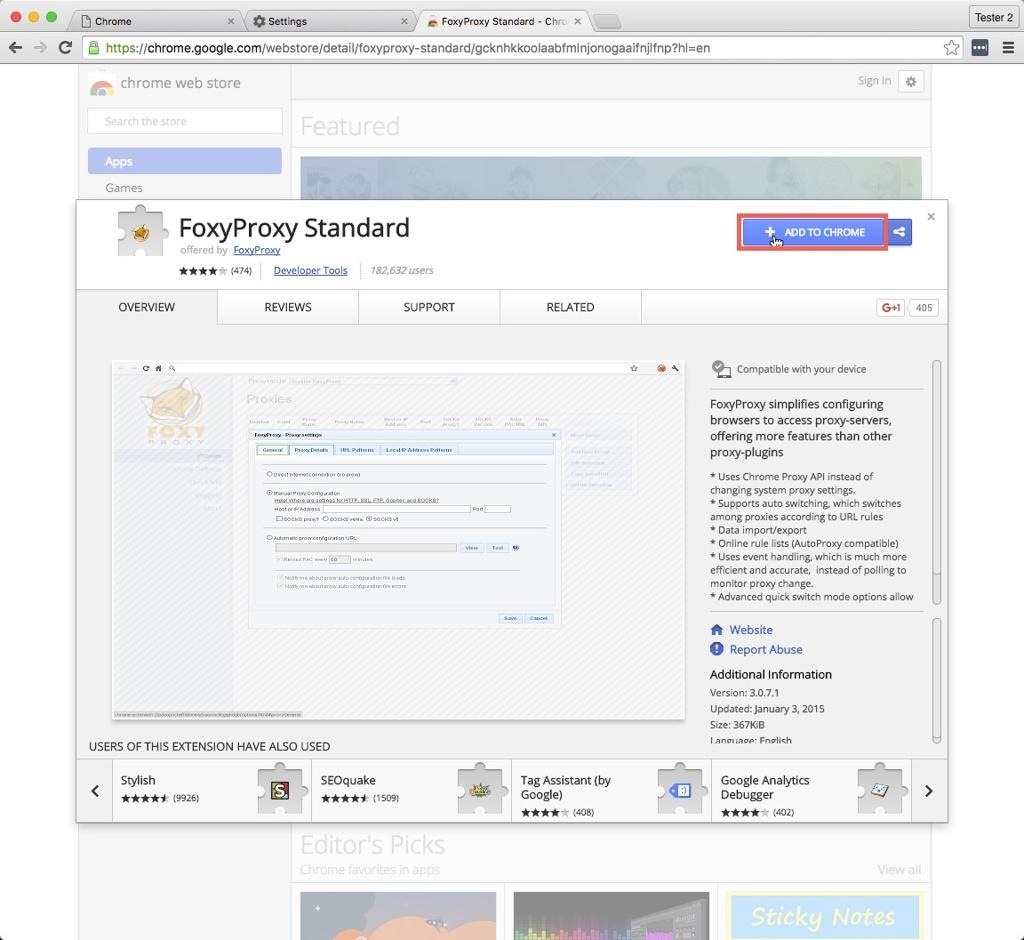
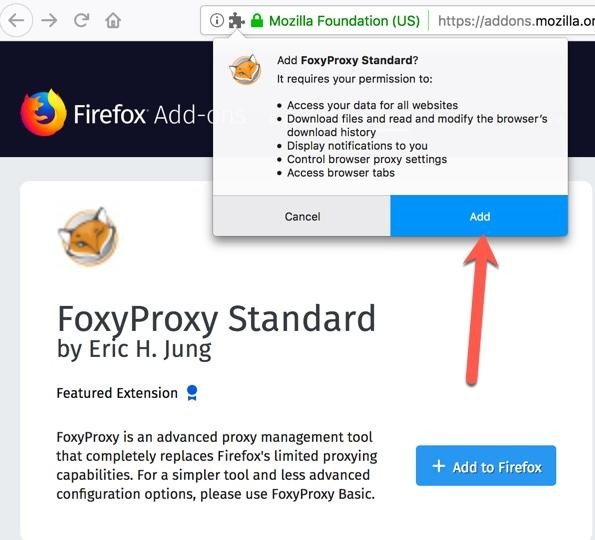
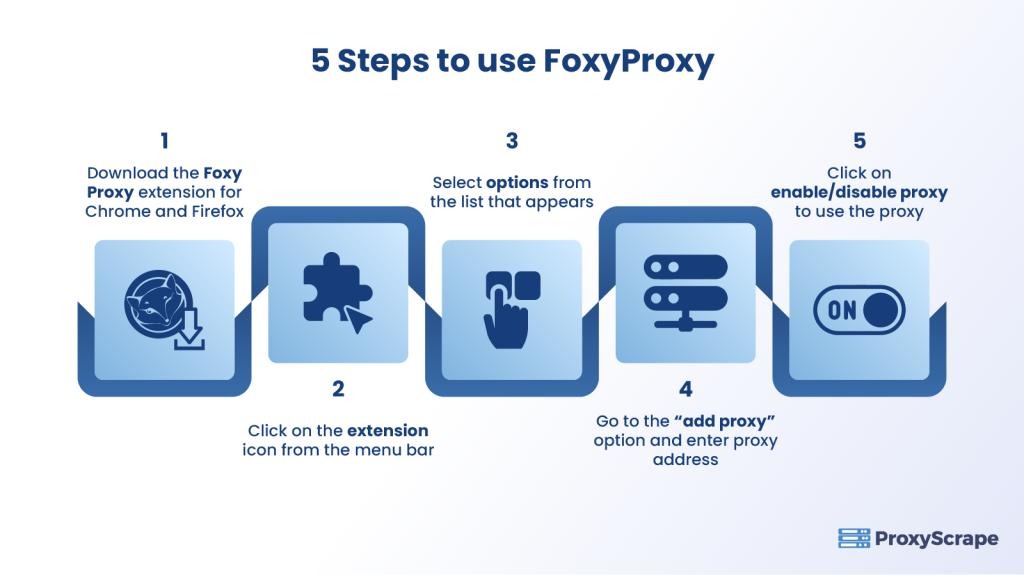
🧩 Step 1: FoxyProxy Extension Install kare
5
Steps:
- Chrome ya Firefox open kare
- Search kare: FoxyProxy extension
- “Add to Chrome / Add to Firefox” par click kare
- Install hone ke baad browser me icon show hoga
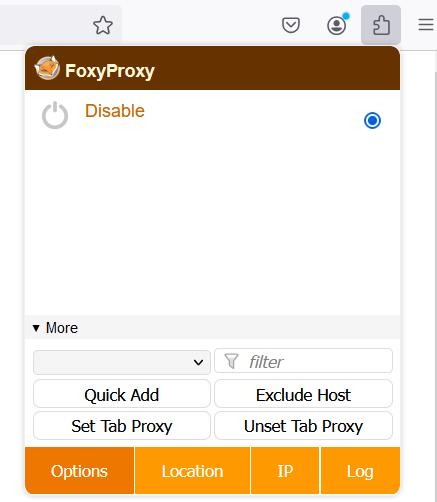
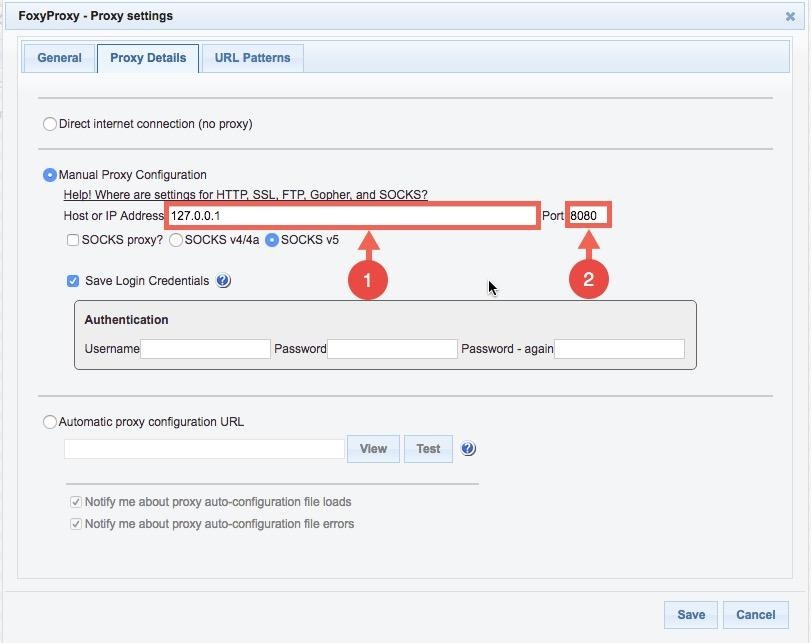
🌐 Step 2: FoxyProxy Setup kare
7
Settings:
- Proxy Type: HTTP
- IP Address: 127.0.0.1
- Port: 8080
👉 Save karke Enable kar de
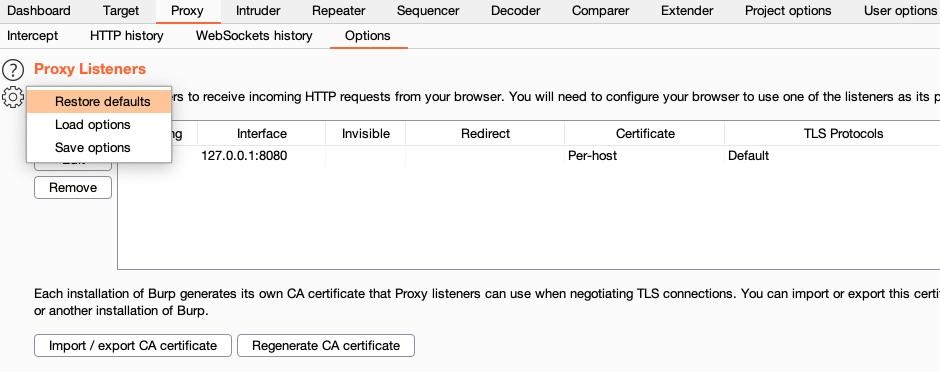
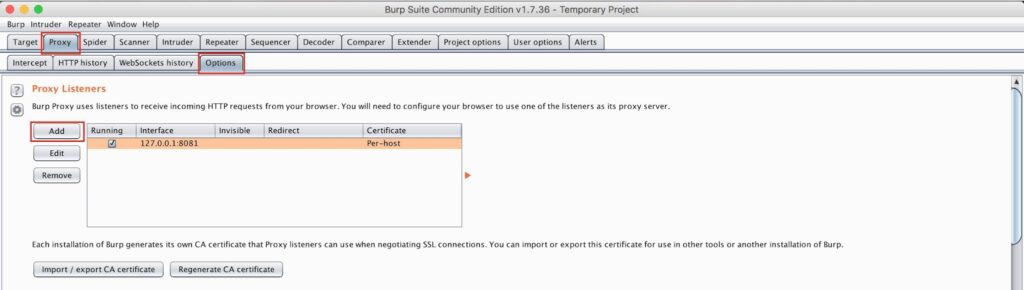
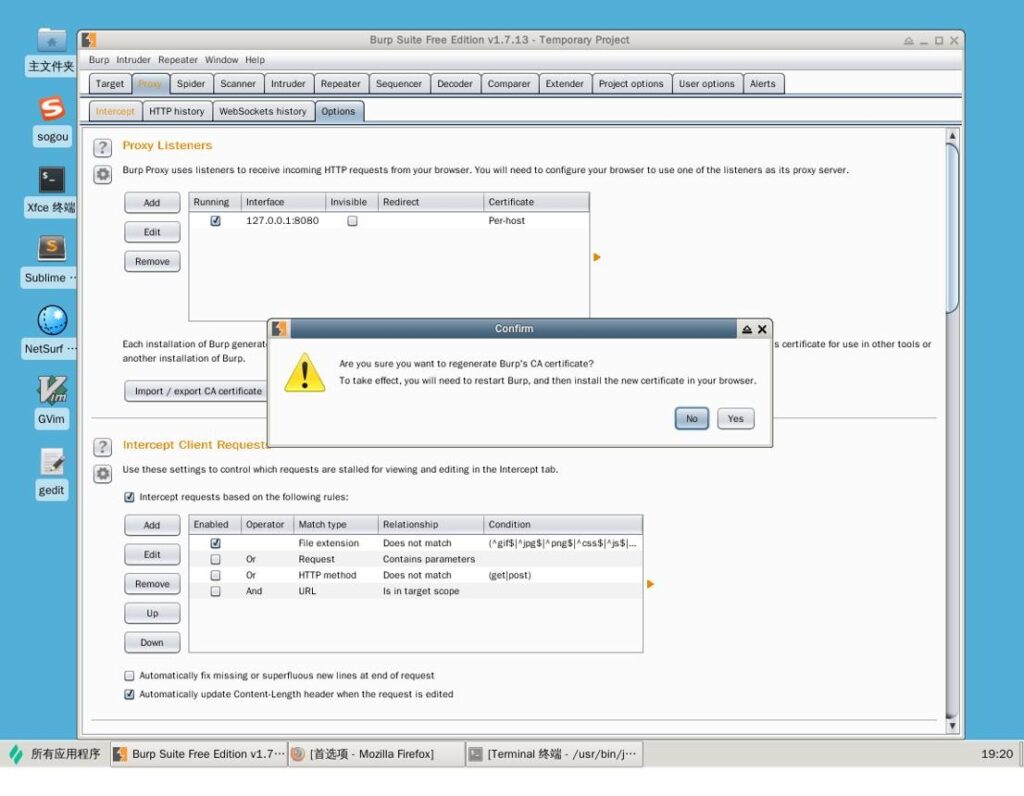
🔥 Step 3: Burp Suite Proxy Listener Check kare
5
Steps:
- Burp Suite open kare
- Proxy → Options me jaye
- Check kare:
- Listener active ho
- Address: 127.0.0.1:8080
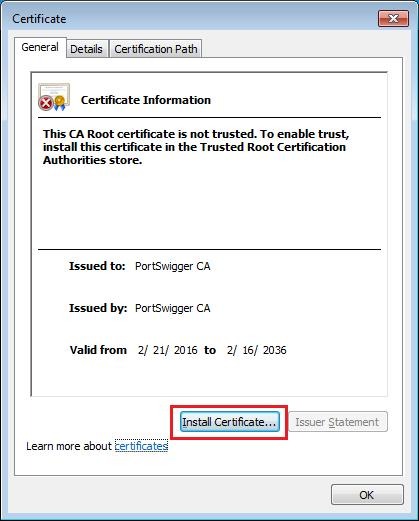
🔐 Step 4: CA Certificate Download kare
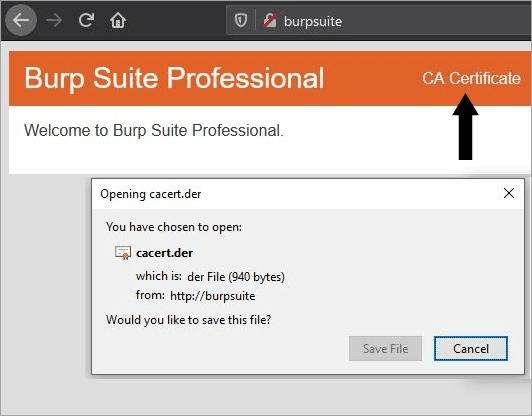
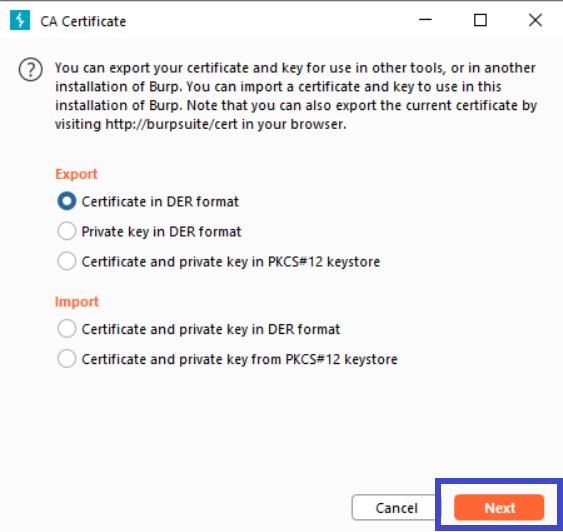
4
Steps:
- Browser me FoxyProxy ON kare
- Open kare:
👉 http://burpsuite - “CA Certificate” par click kare
- Certificate download ho jayega
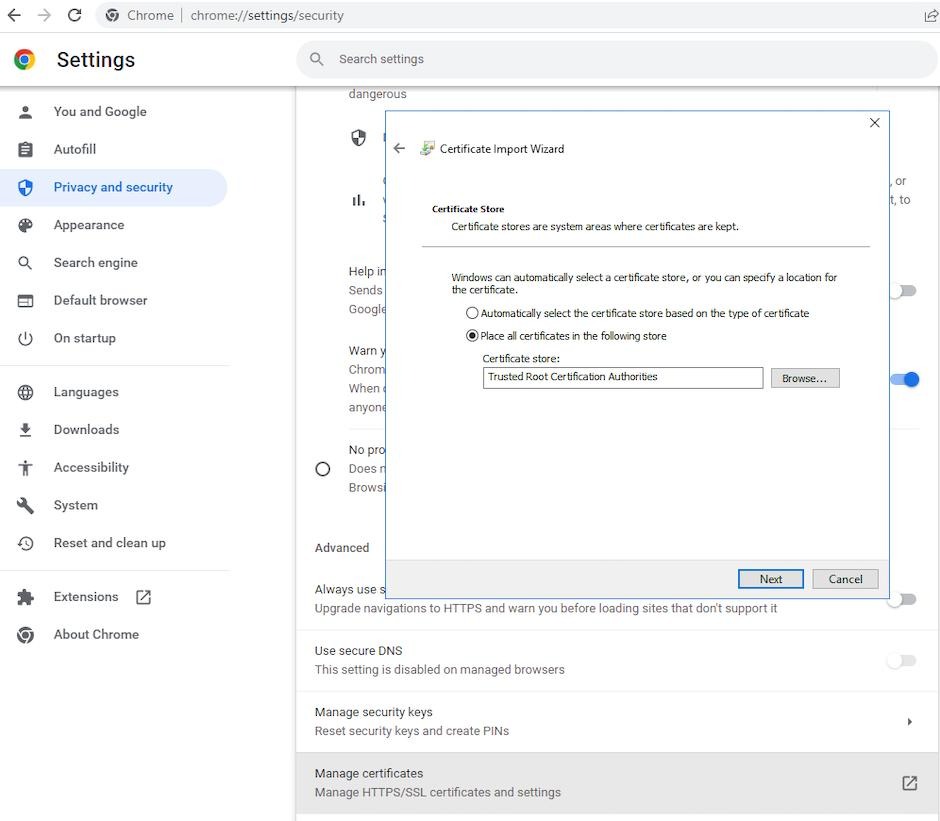
🖥️ Step 5: CA Certificate Install (Windows)
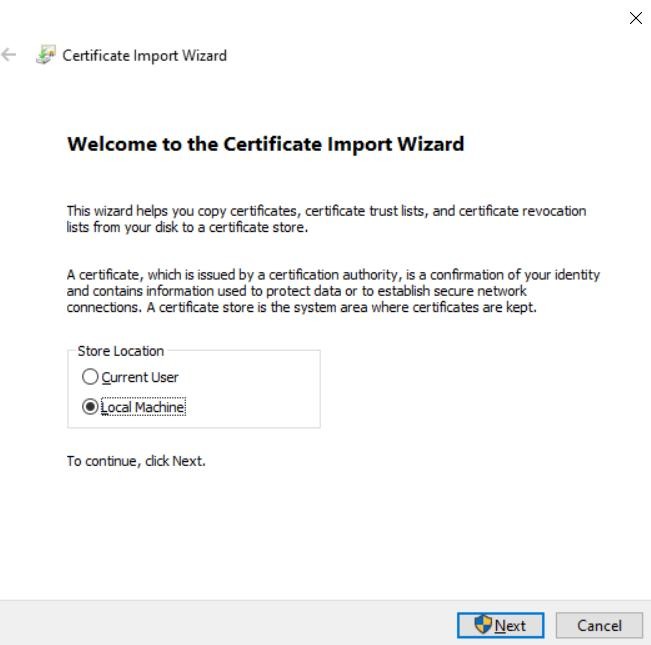
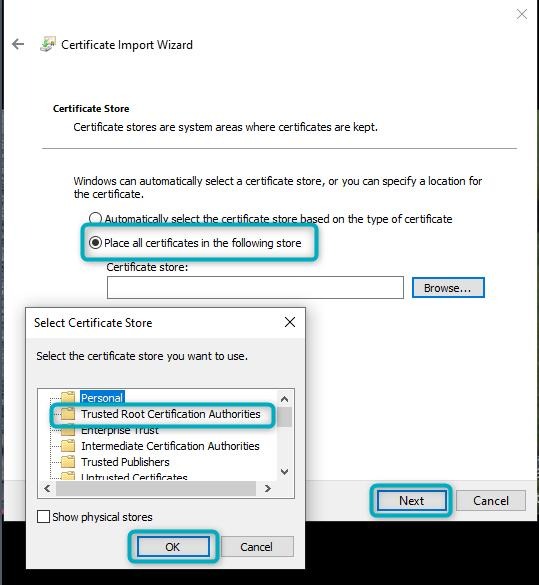
5
Steps:
- Certificate par double click kare
- Click kare: Install Certificate
- Select kare:
- Local Machine
- Choose kare:
- Trusted Root Certification Authorities
- Finish kare
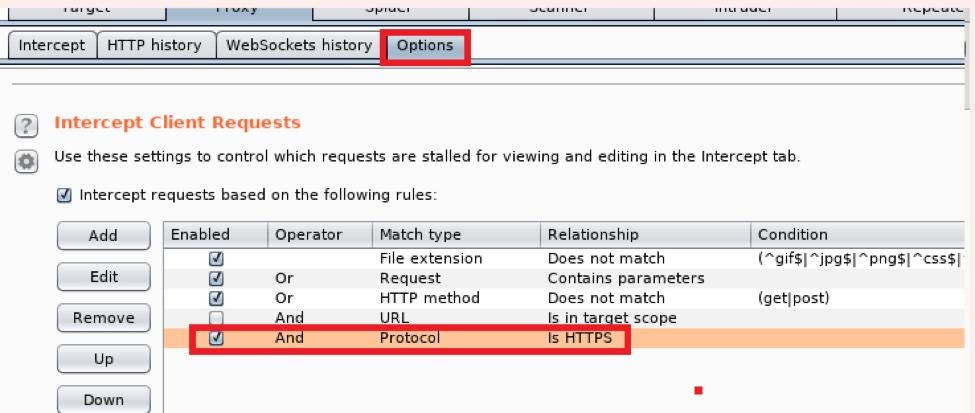
✅ Step 6: HTTPS Intercept Test
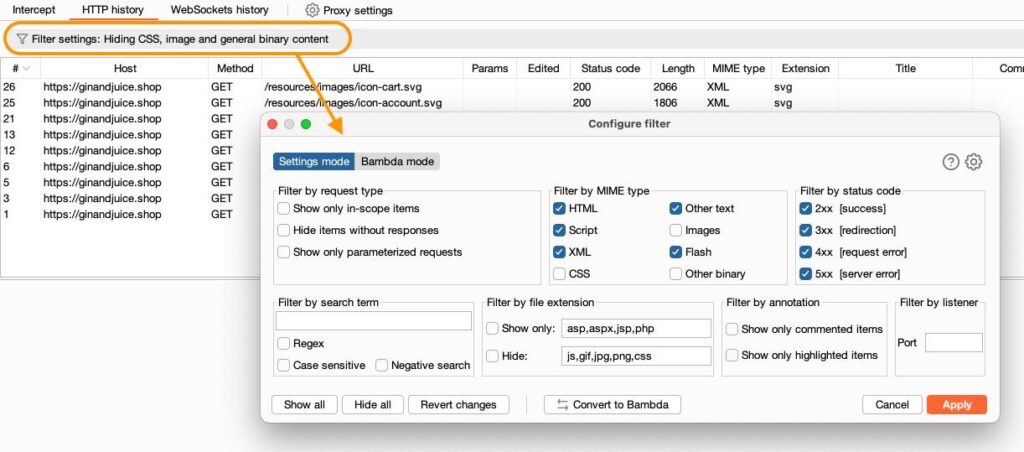
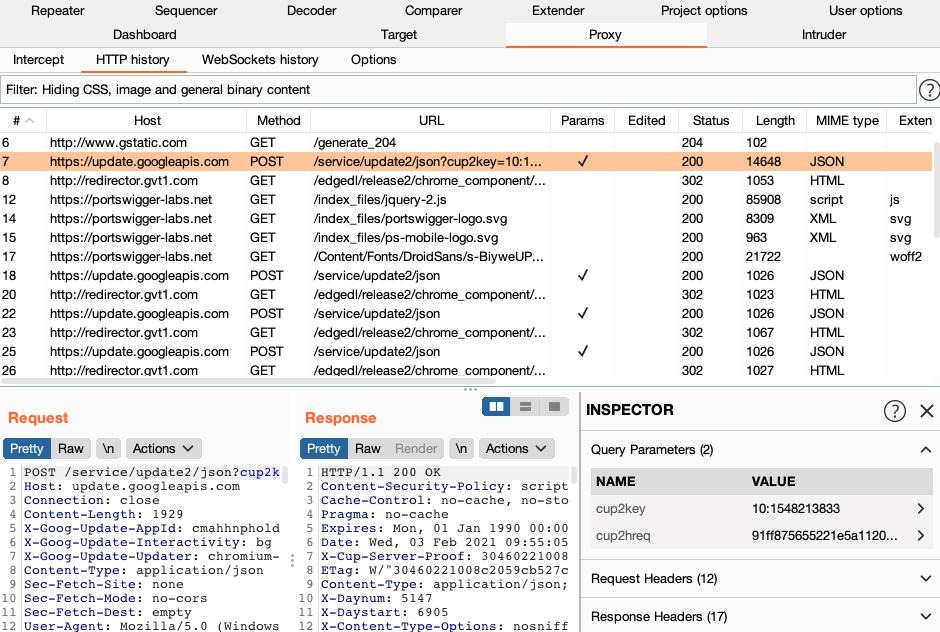
5
Test:
- Burp Suite me Intercept ON kare
- Browser me koi HTTPS website open kare
- Request Burp me dikhegi
🎉 Setup Successful!
❌ Common Problems & Fix
❗ Problem: Traffic show nahi ho raha
✔ Fix: FoxyProxy ON kare
❗ HTTPS error aa raha
✔ Fix: Certificate properly install kare
❗ Site open nahi ho rahi
✔ Fix: Proxy IP/Port check kare
🧠 Pro Tips
- Practice kare TryHackMe par
- Sirf authorized targets par testing kare ⚠️
- Firefox me alag certificate import karna padta hai
🎯 Conclusion
Ab aapne successfully FoxyProxy + Burp Suite CA Certificate setup kar liya hai aur HTTPS traffic intercept kar sakte ho. Ye skill bug bounty aur penetration testing ke liye bahut important hai.
📢 Follow Me
🌐 cyber-teck.in
📸 Instagram: cyber_teck_007